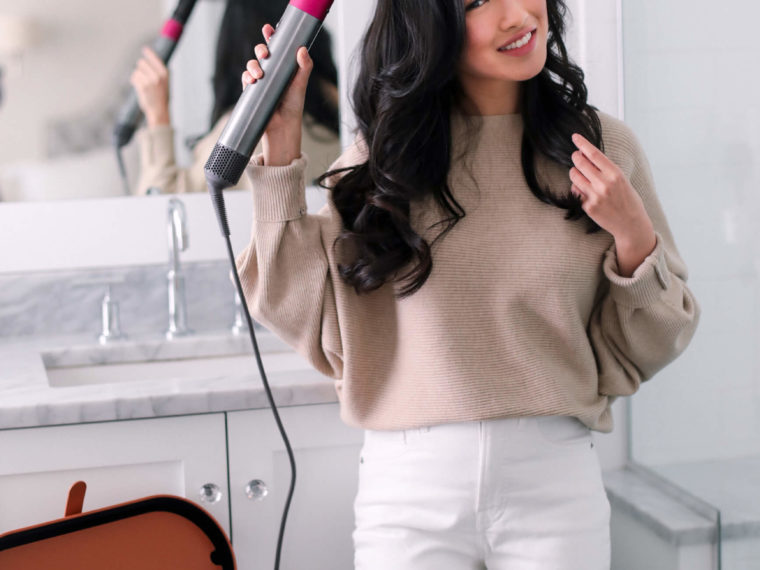
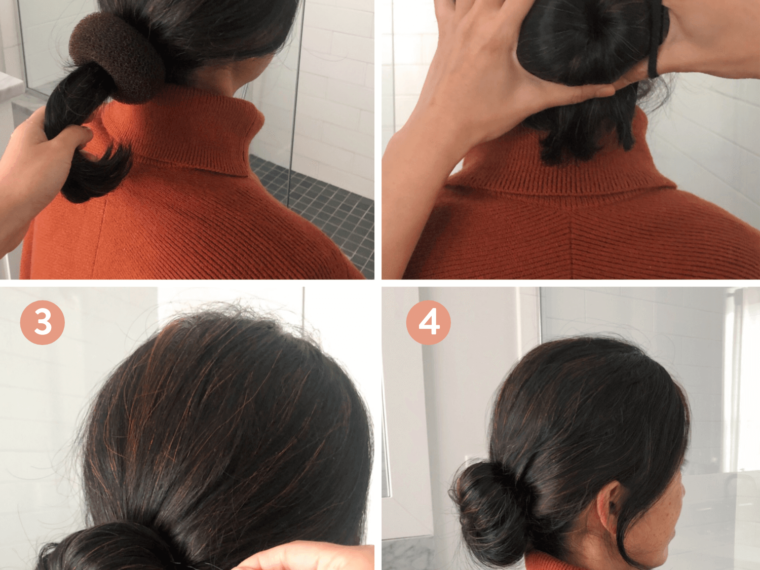
Oftentimes I find myself in need of a casual updo in a pinch – sometimes for style purposes to help accentuate the neckline of an outfit, but most of the time just due to mom life and the need to make unwashed hair look presentable. Either way, this 2-minute semi messy topknot comes to my rescue often, and has gotten a lot of tutorial requests over the years as a result!
A while back I shared an older tutorial for a different topknot variation which I’ll call a traditional “donut style” bun, since you wrap the ponytail into a circular shape. In comparison, today’s variation is more of a “fan style” bun. In either bun the key is using corkscrew-style spin pins (game changer if you don’t have these!! I use the Goody brand but there’s plenty of lower priced alternatives now), which help make buns possible for my coarse, straight hair. If you have thin hair, you may want to spray some texturizer or lightly tease your hair beforehand.
Check my IGTV for the how-to video, and the below snapshots for a little more explanation!
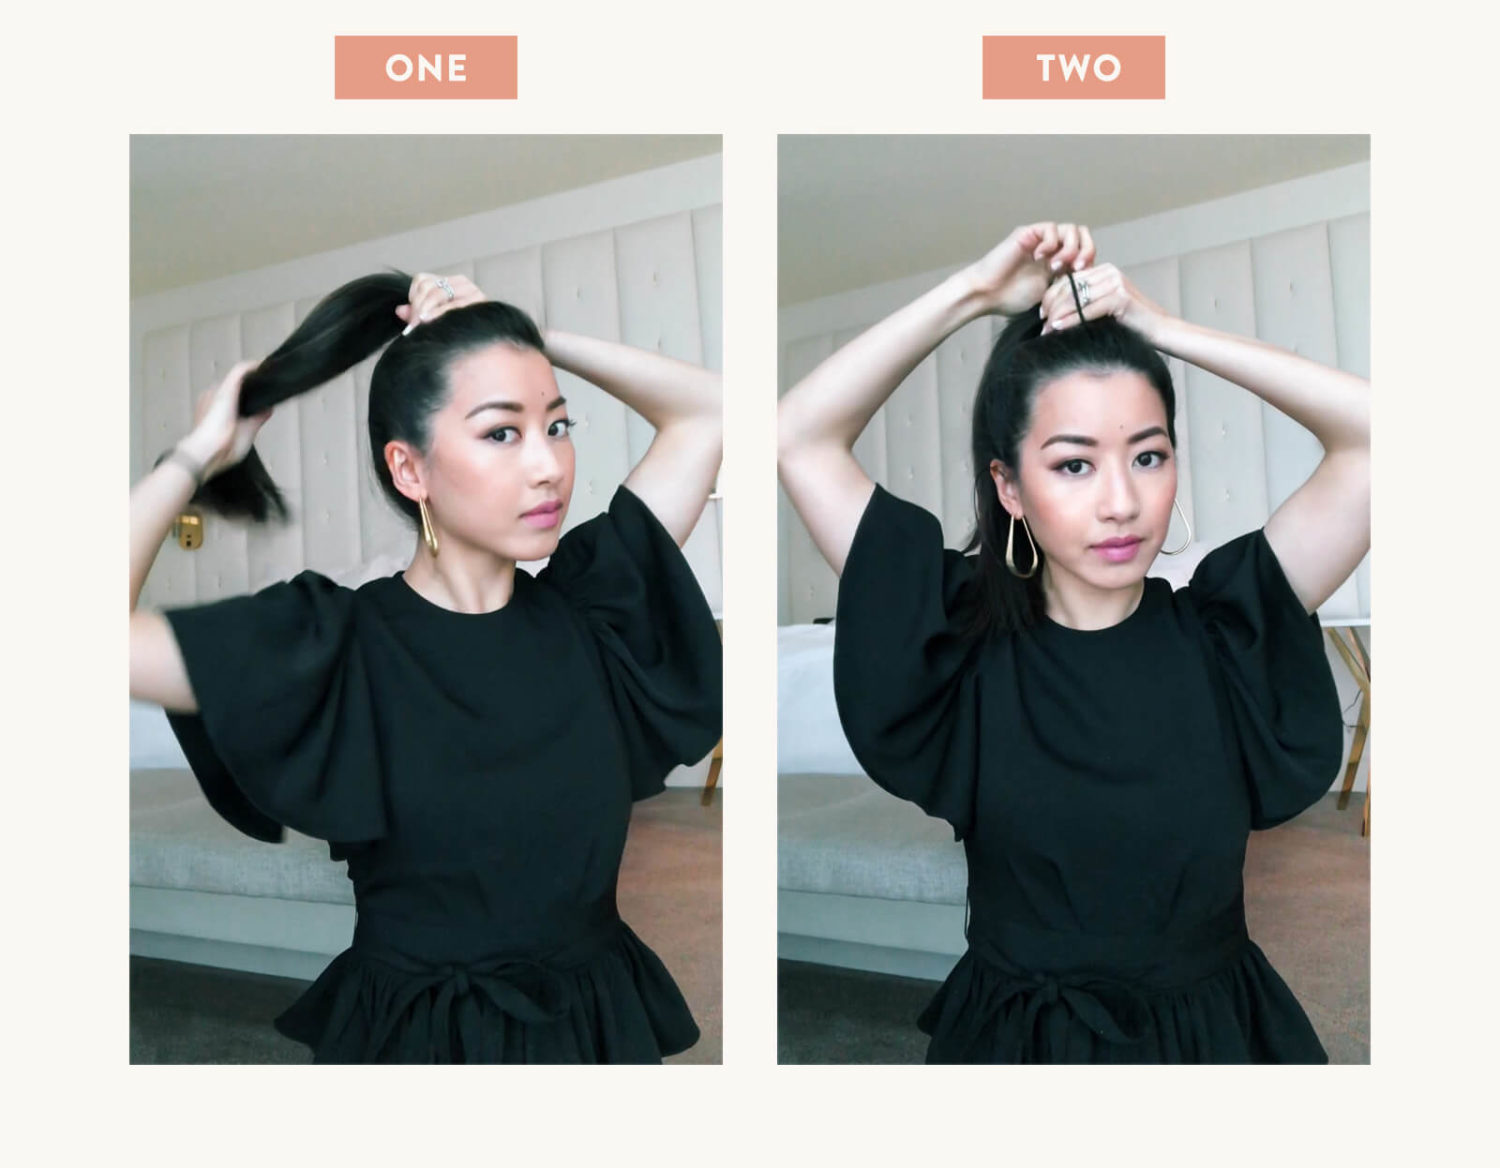
ONE
Begin by brushing your hair into a very high ponytail.
TWO
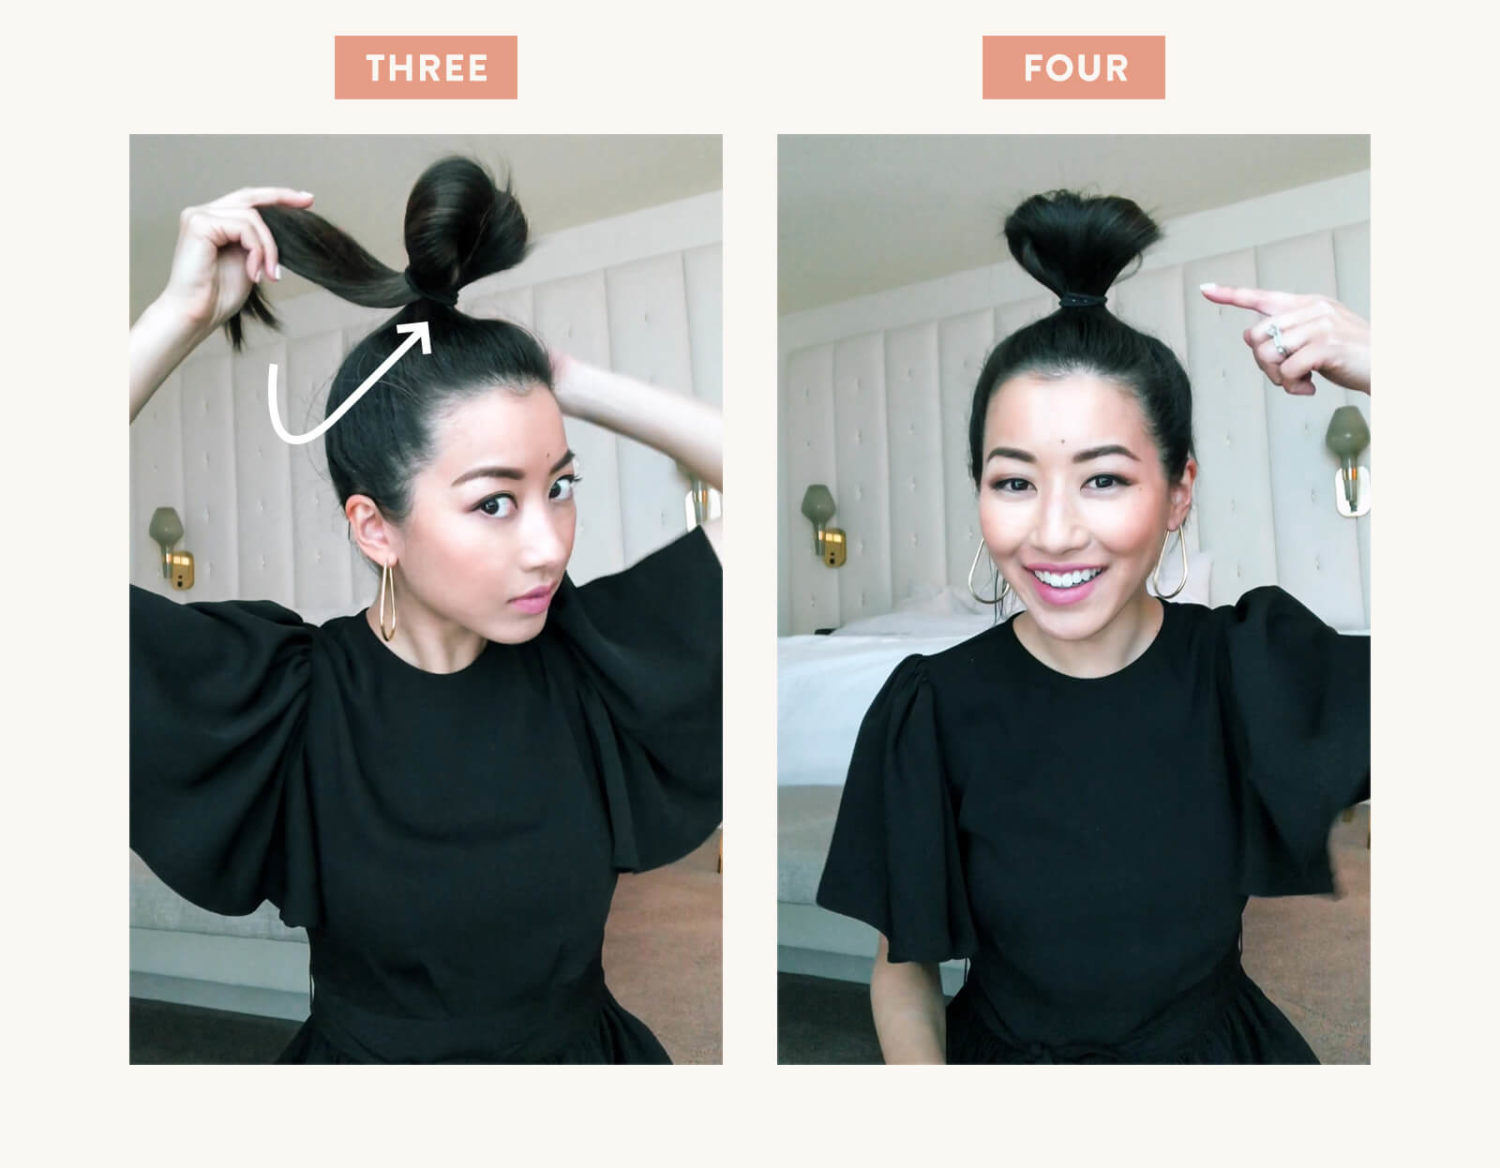
Start tying a hair elastic around your ponytail, but once you’re on the very last loop, do not pull your entire ponytail through. Only pull through a small loop of hair, leaving the rest of the ponytail in the back.
Three
If you have a long tail as a result from the loop, I just tuck the ends into one of the elastic bands. If you have a short tail, just use some bobby pins to secure it down. Don’t worry if it looks messy as we’ll be fluffing out the loop and you can pull various pieces from the loop down to cover up a messy back.
FOUR
At this point you’ll look like a sumo wrestler, but fear not, messy bun perfection is just a few steps away!
Five
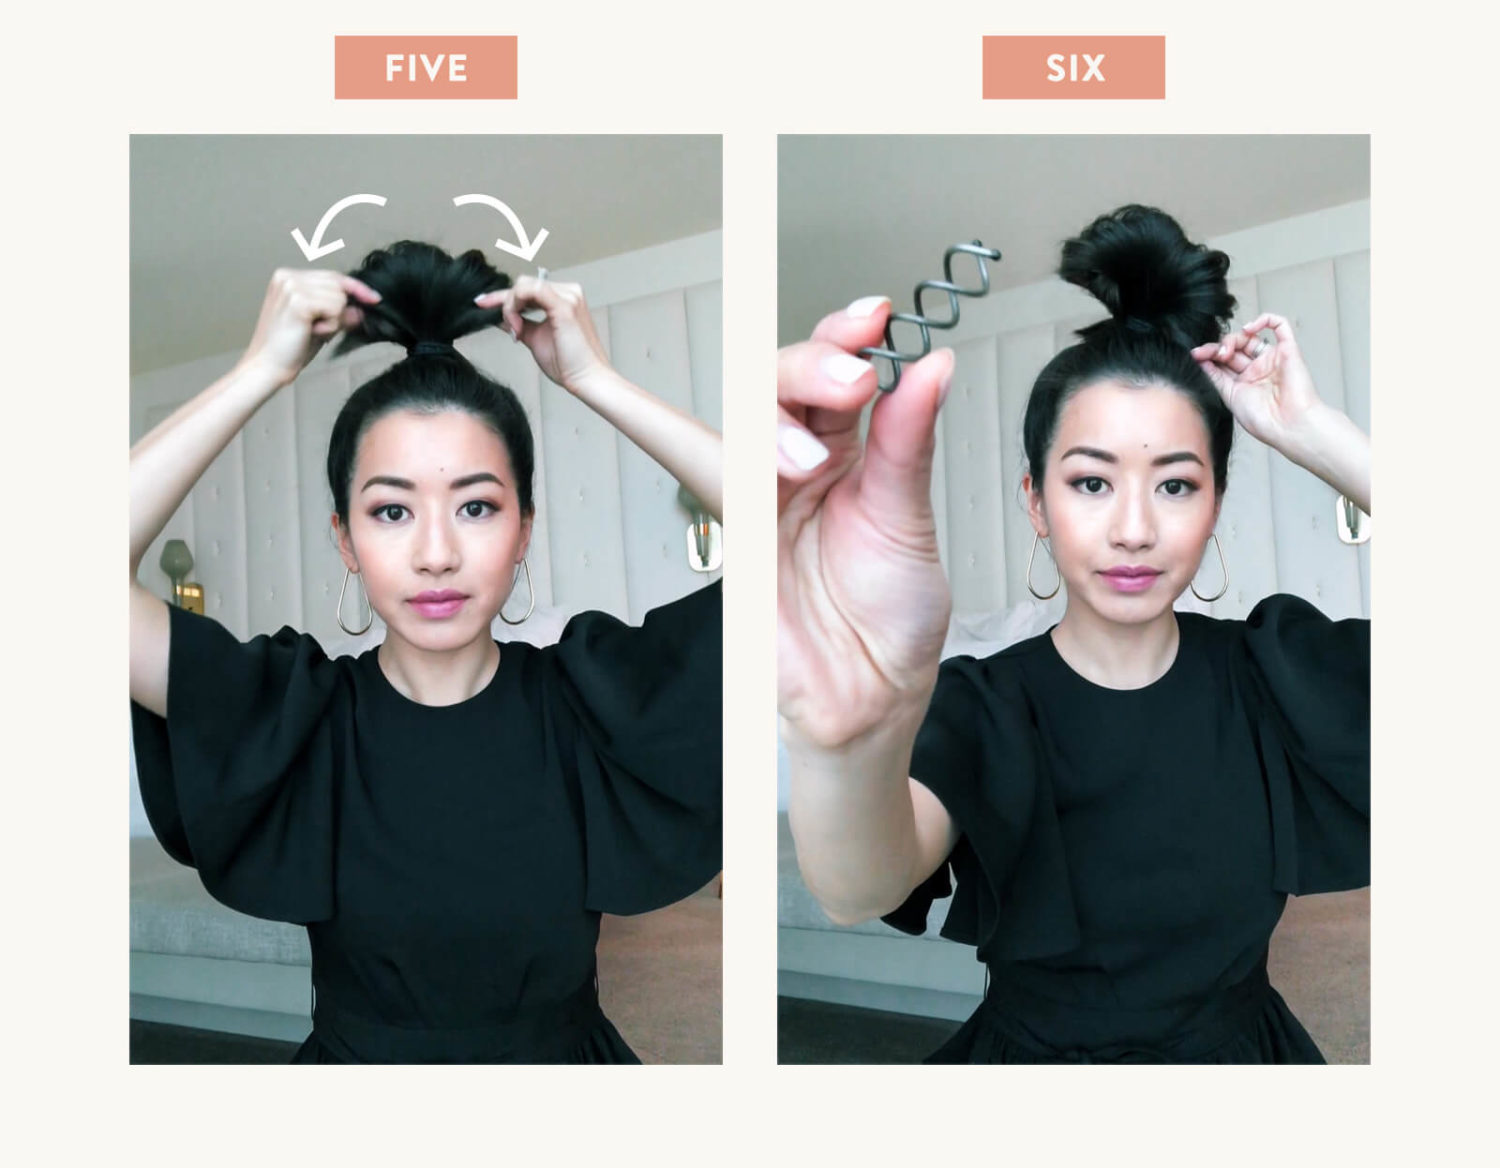
Fan out the sumo wrestler bun toward your head. This is where you can get creative and pull out more for a looser, messier look and also pull in different directions for a more voluminous bun.
six
As you’re fanning the bun out, have a spin pin ready in your hand and use it to secure one corner of the fanned out bun at a time. Screw them in gently like corkscrews, with the goal being to catch hair from both your bun as well as from the top of your head so that the spin pin “anchors” the bun securely.
seven
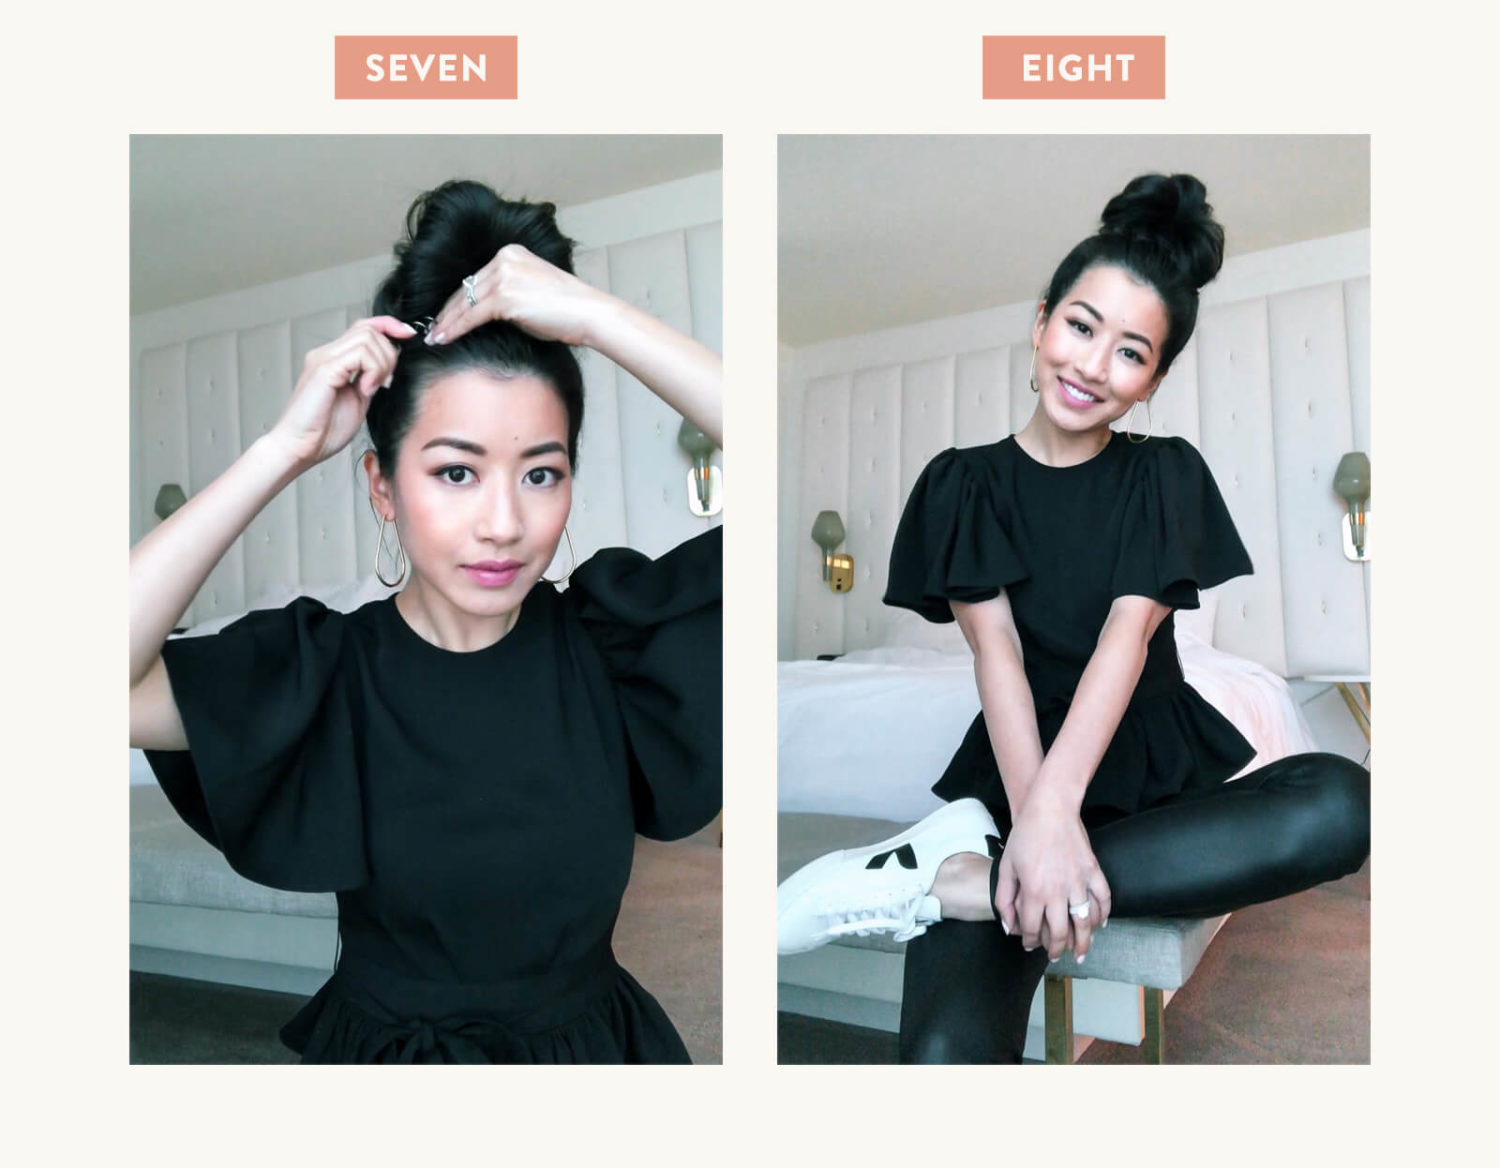
Repeat with more spin pins. I use at least 4 to anchor down each corner of my bun (front left, front right, back left, back right), but you can use as few or as many as you need. If a piece of the bun sticks out at an odd angle I’ll just use an additional pin to secure the rogue section back down.
eight
That’s it! Clean up any loose pieces with regular bobby pins. And if you struggle with flyaways or wispies like I do, one tip from my previous bun tutorial video (see it at 1 minute 40 seconds) is to spray some hairspray on an old toothbrush and brush down the flyaways.
finished top knot gallery
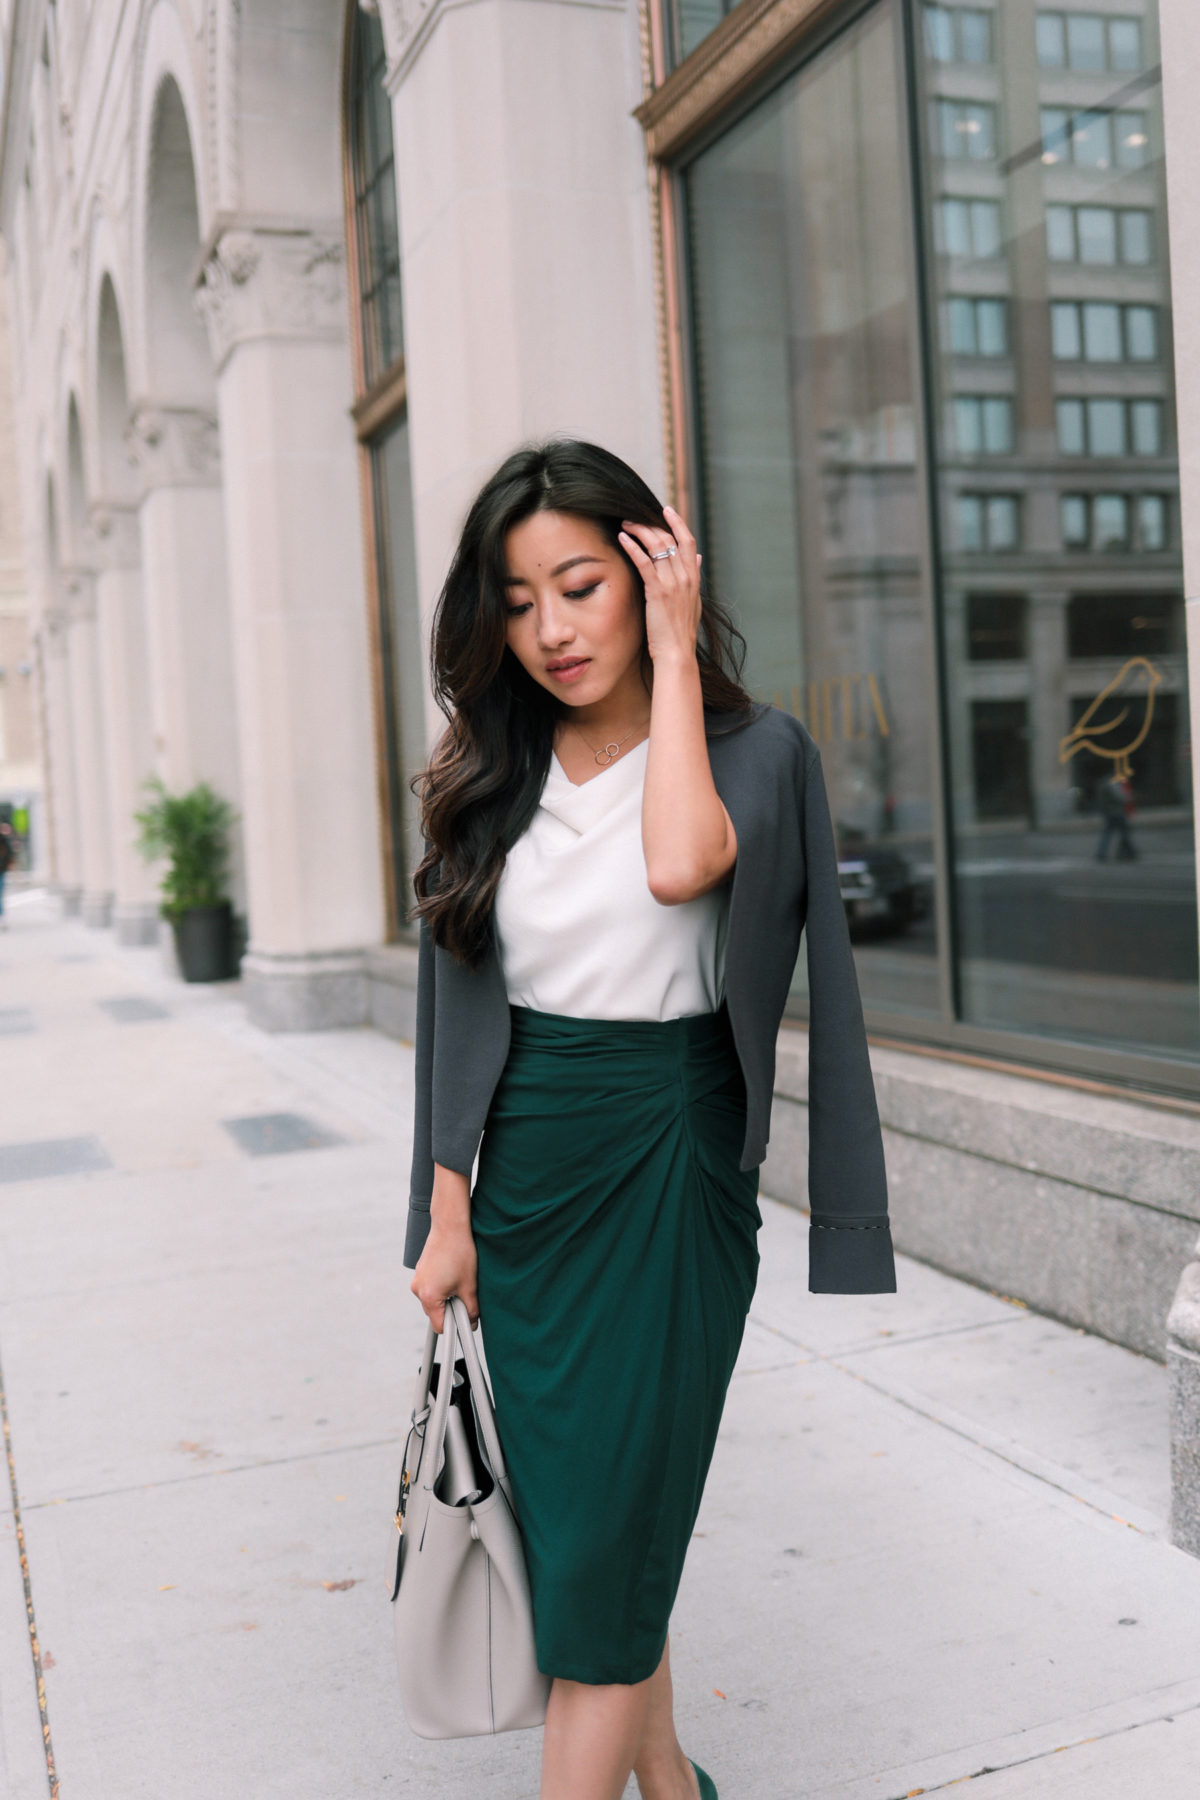
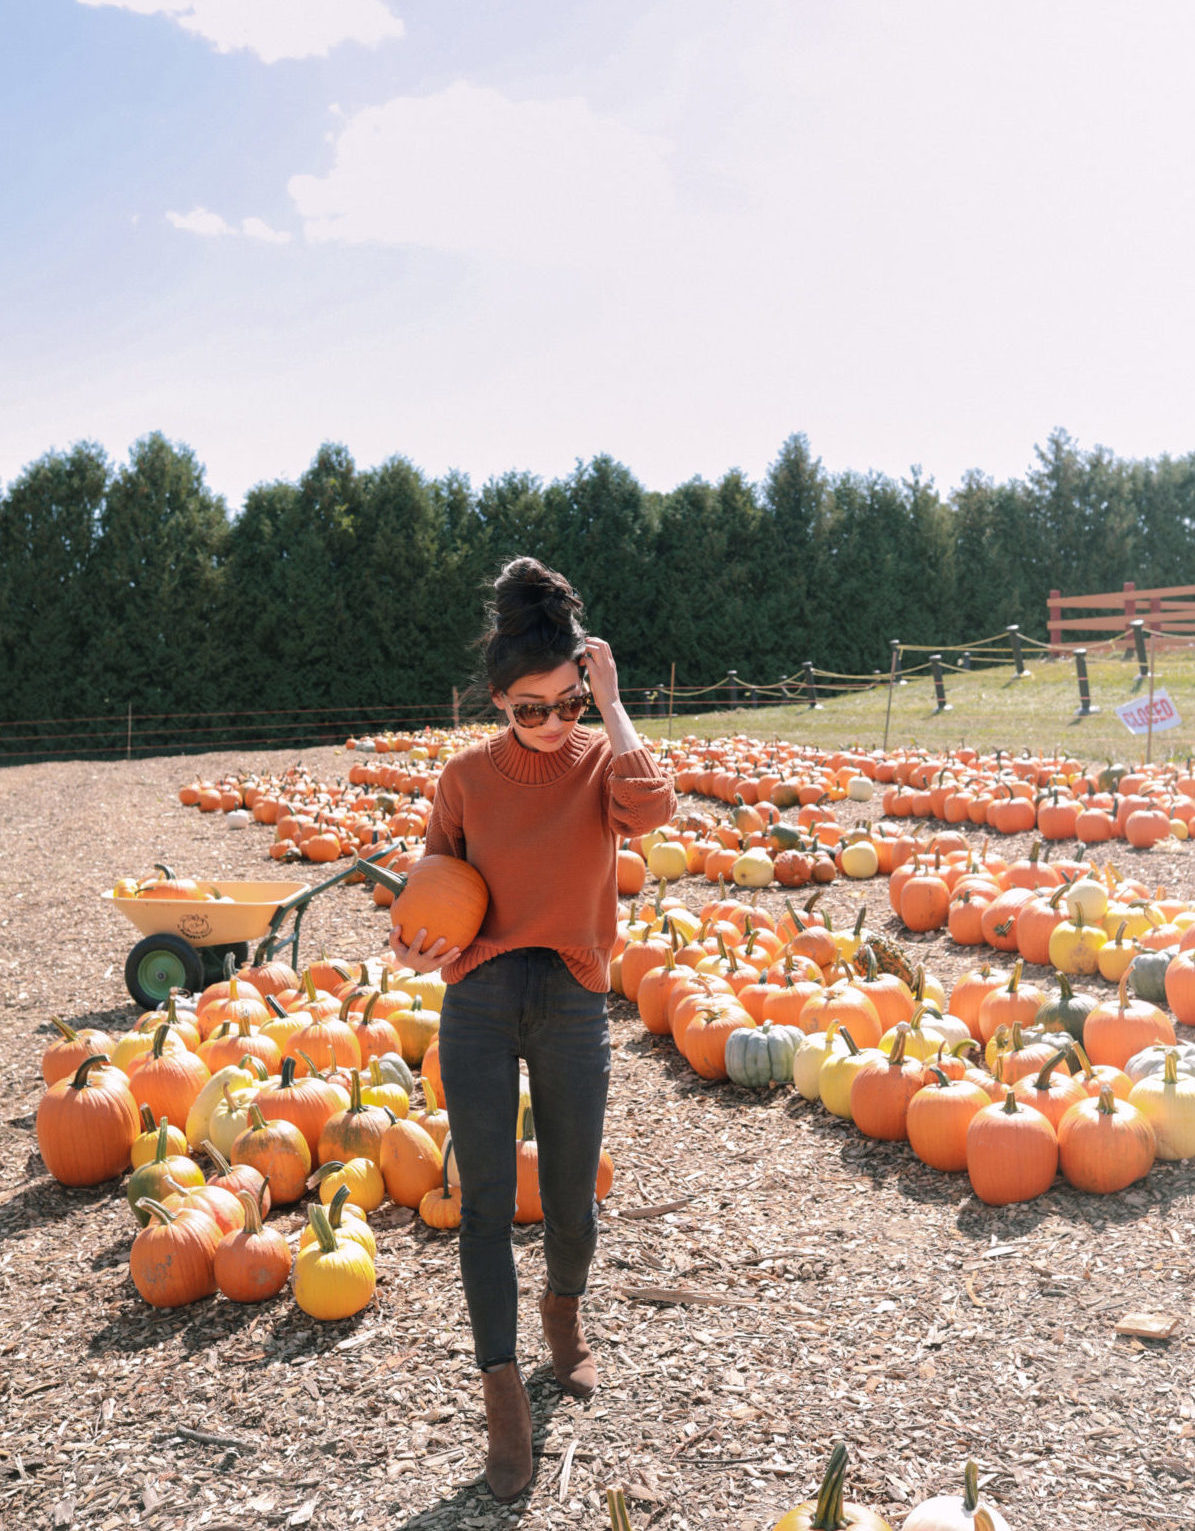
Hope this was helpful! Here’s a look at this same hairstyle paired with both casual and dressier looks across the seasons!
Outfit from this blog post
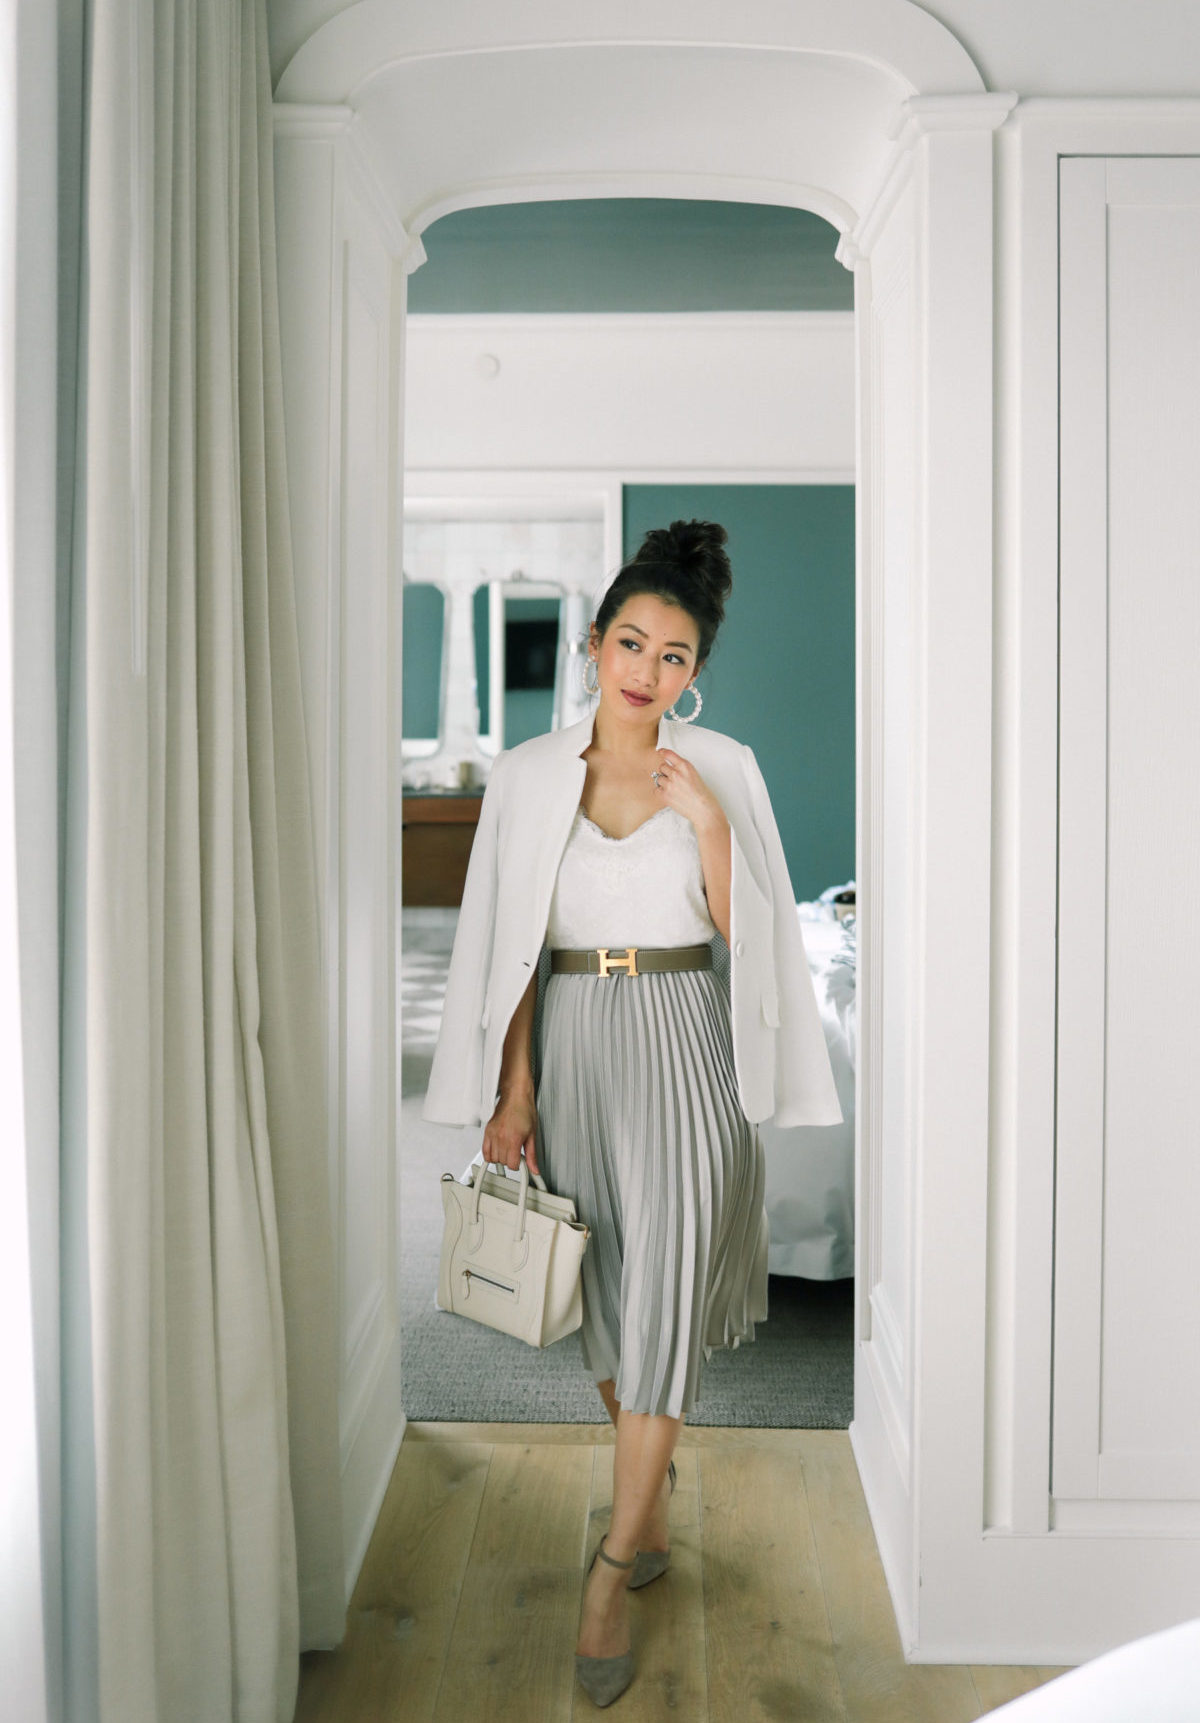
Outfit from this blog post
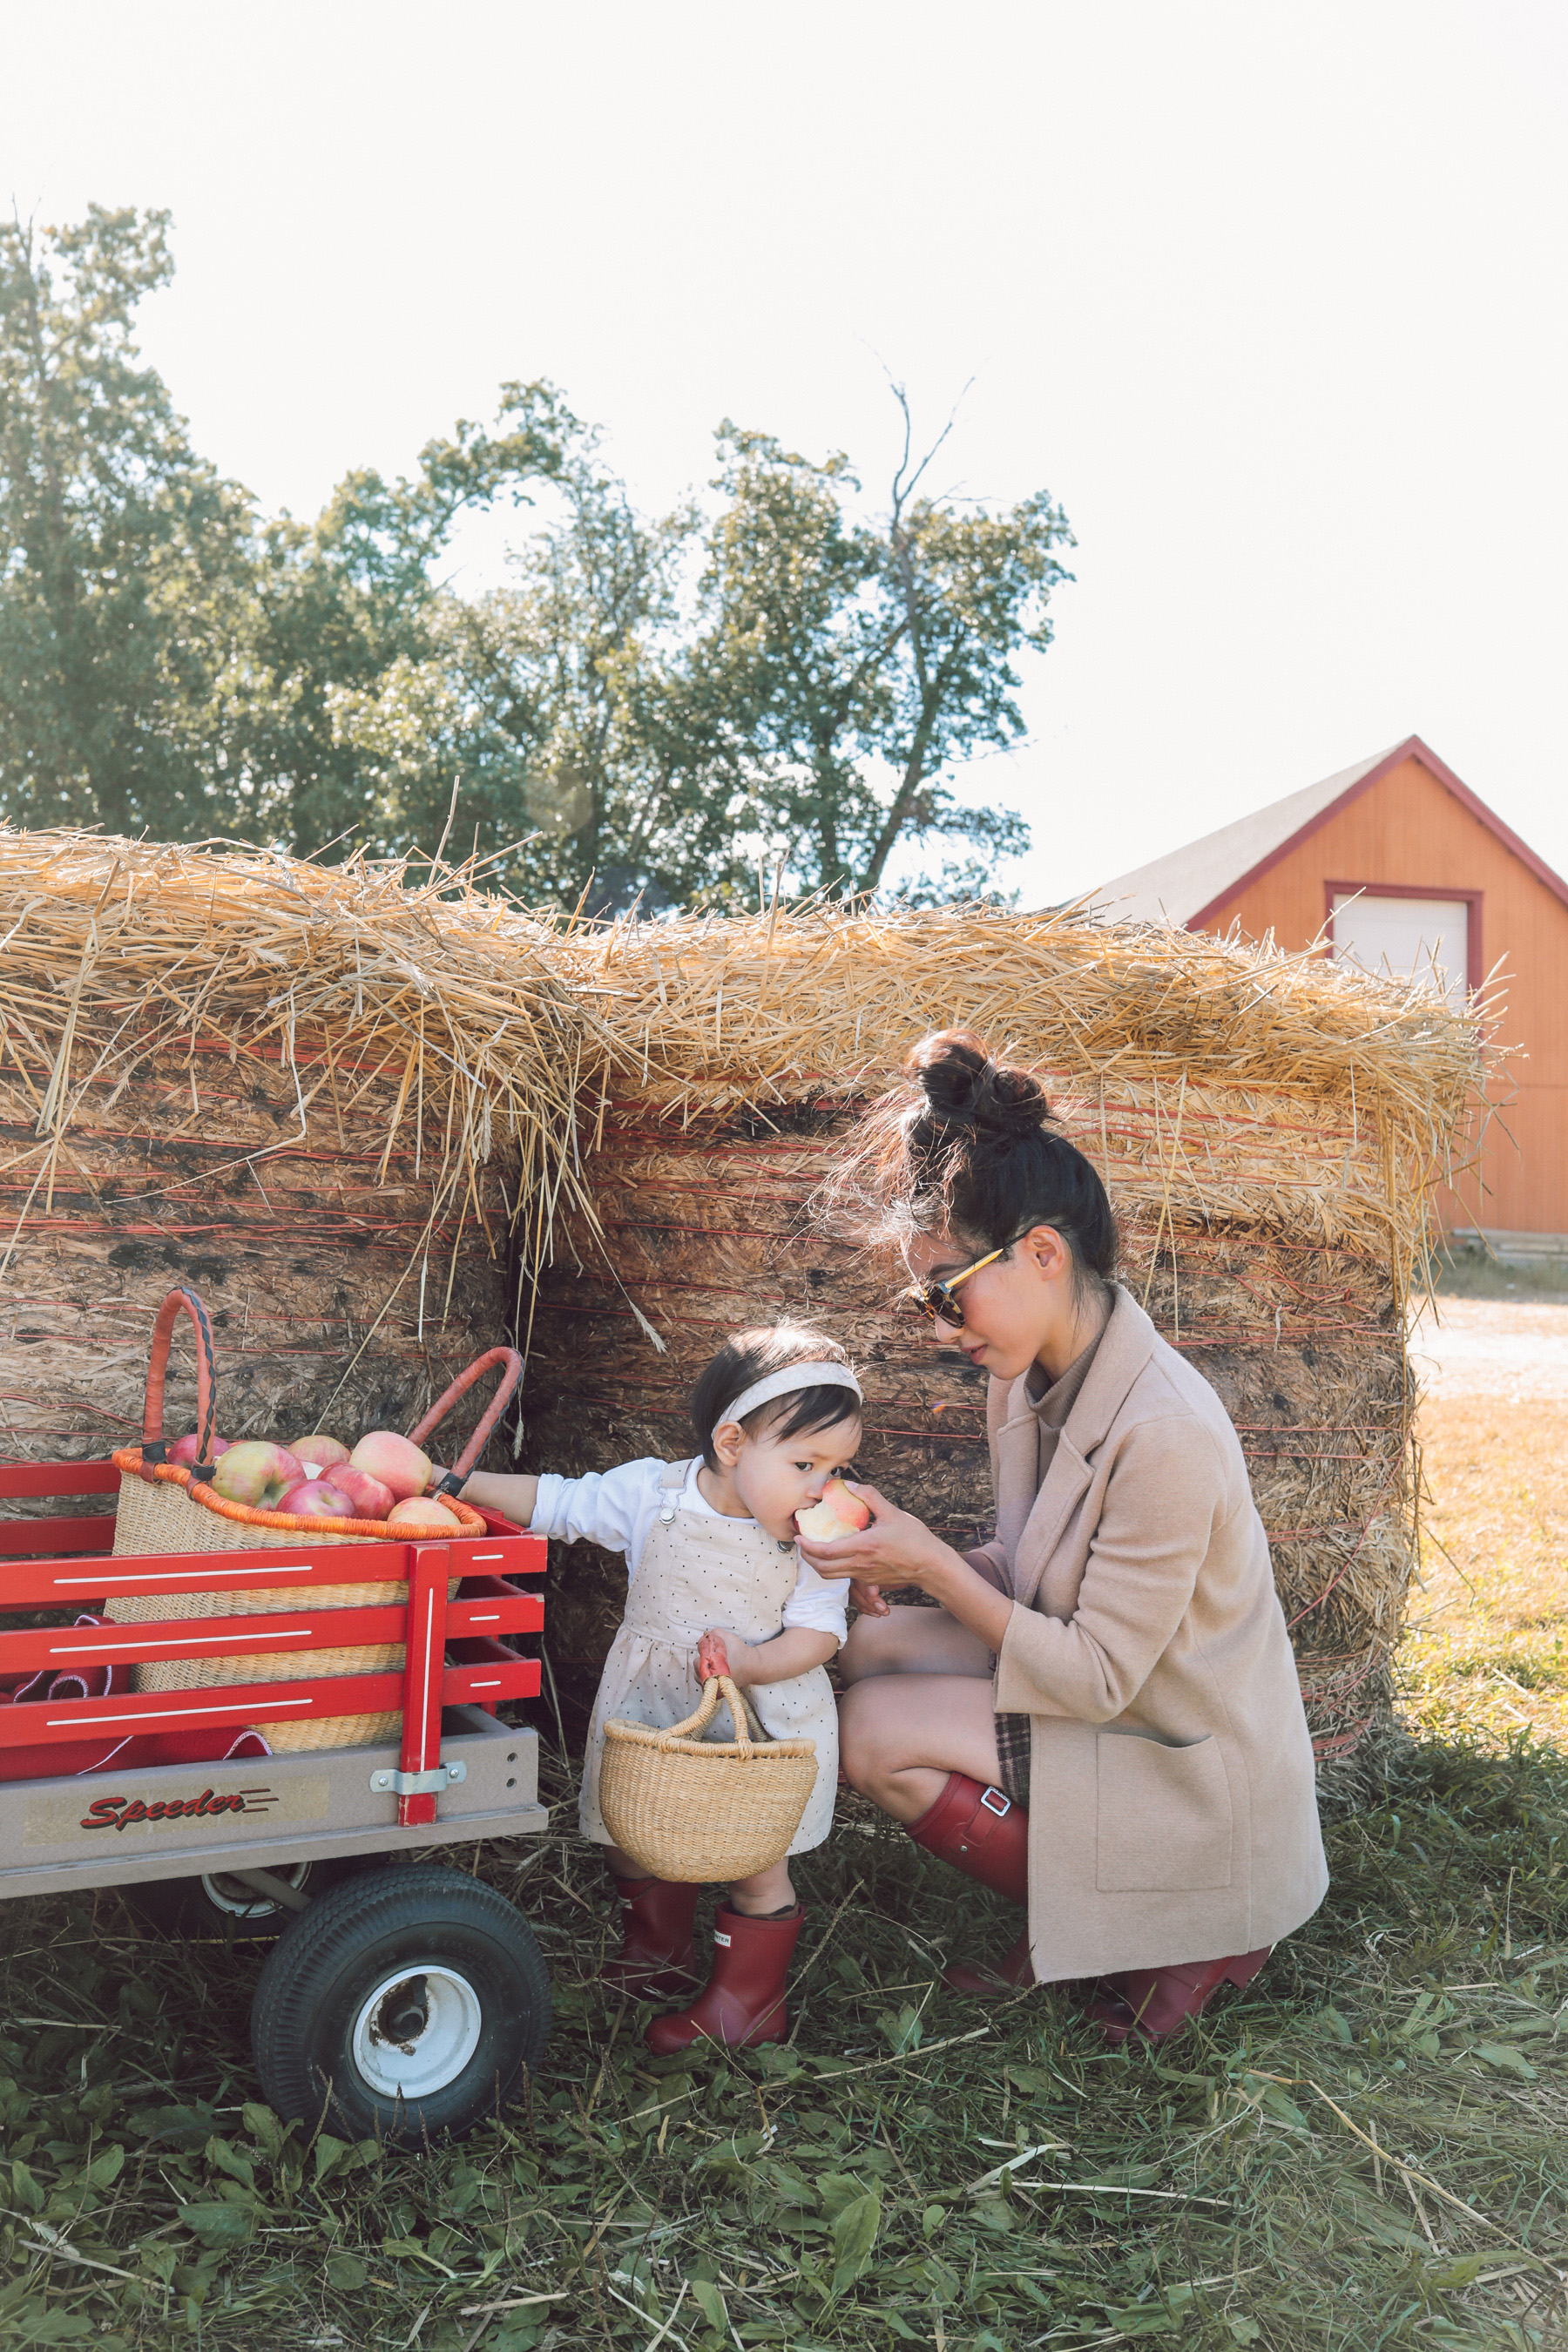 Outfit from this blog post

Outfit from this blog post
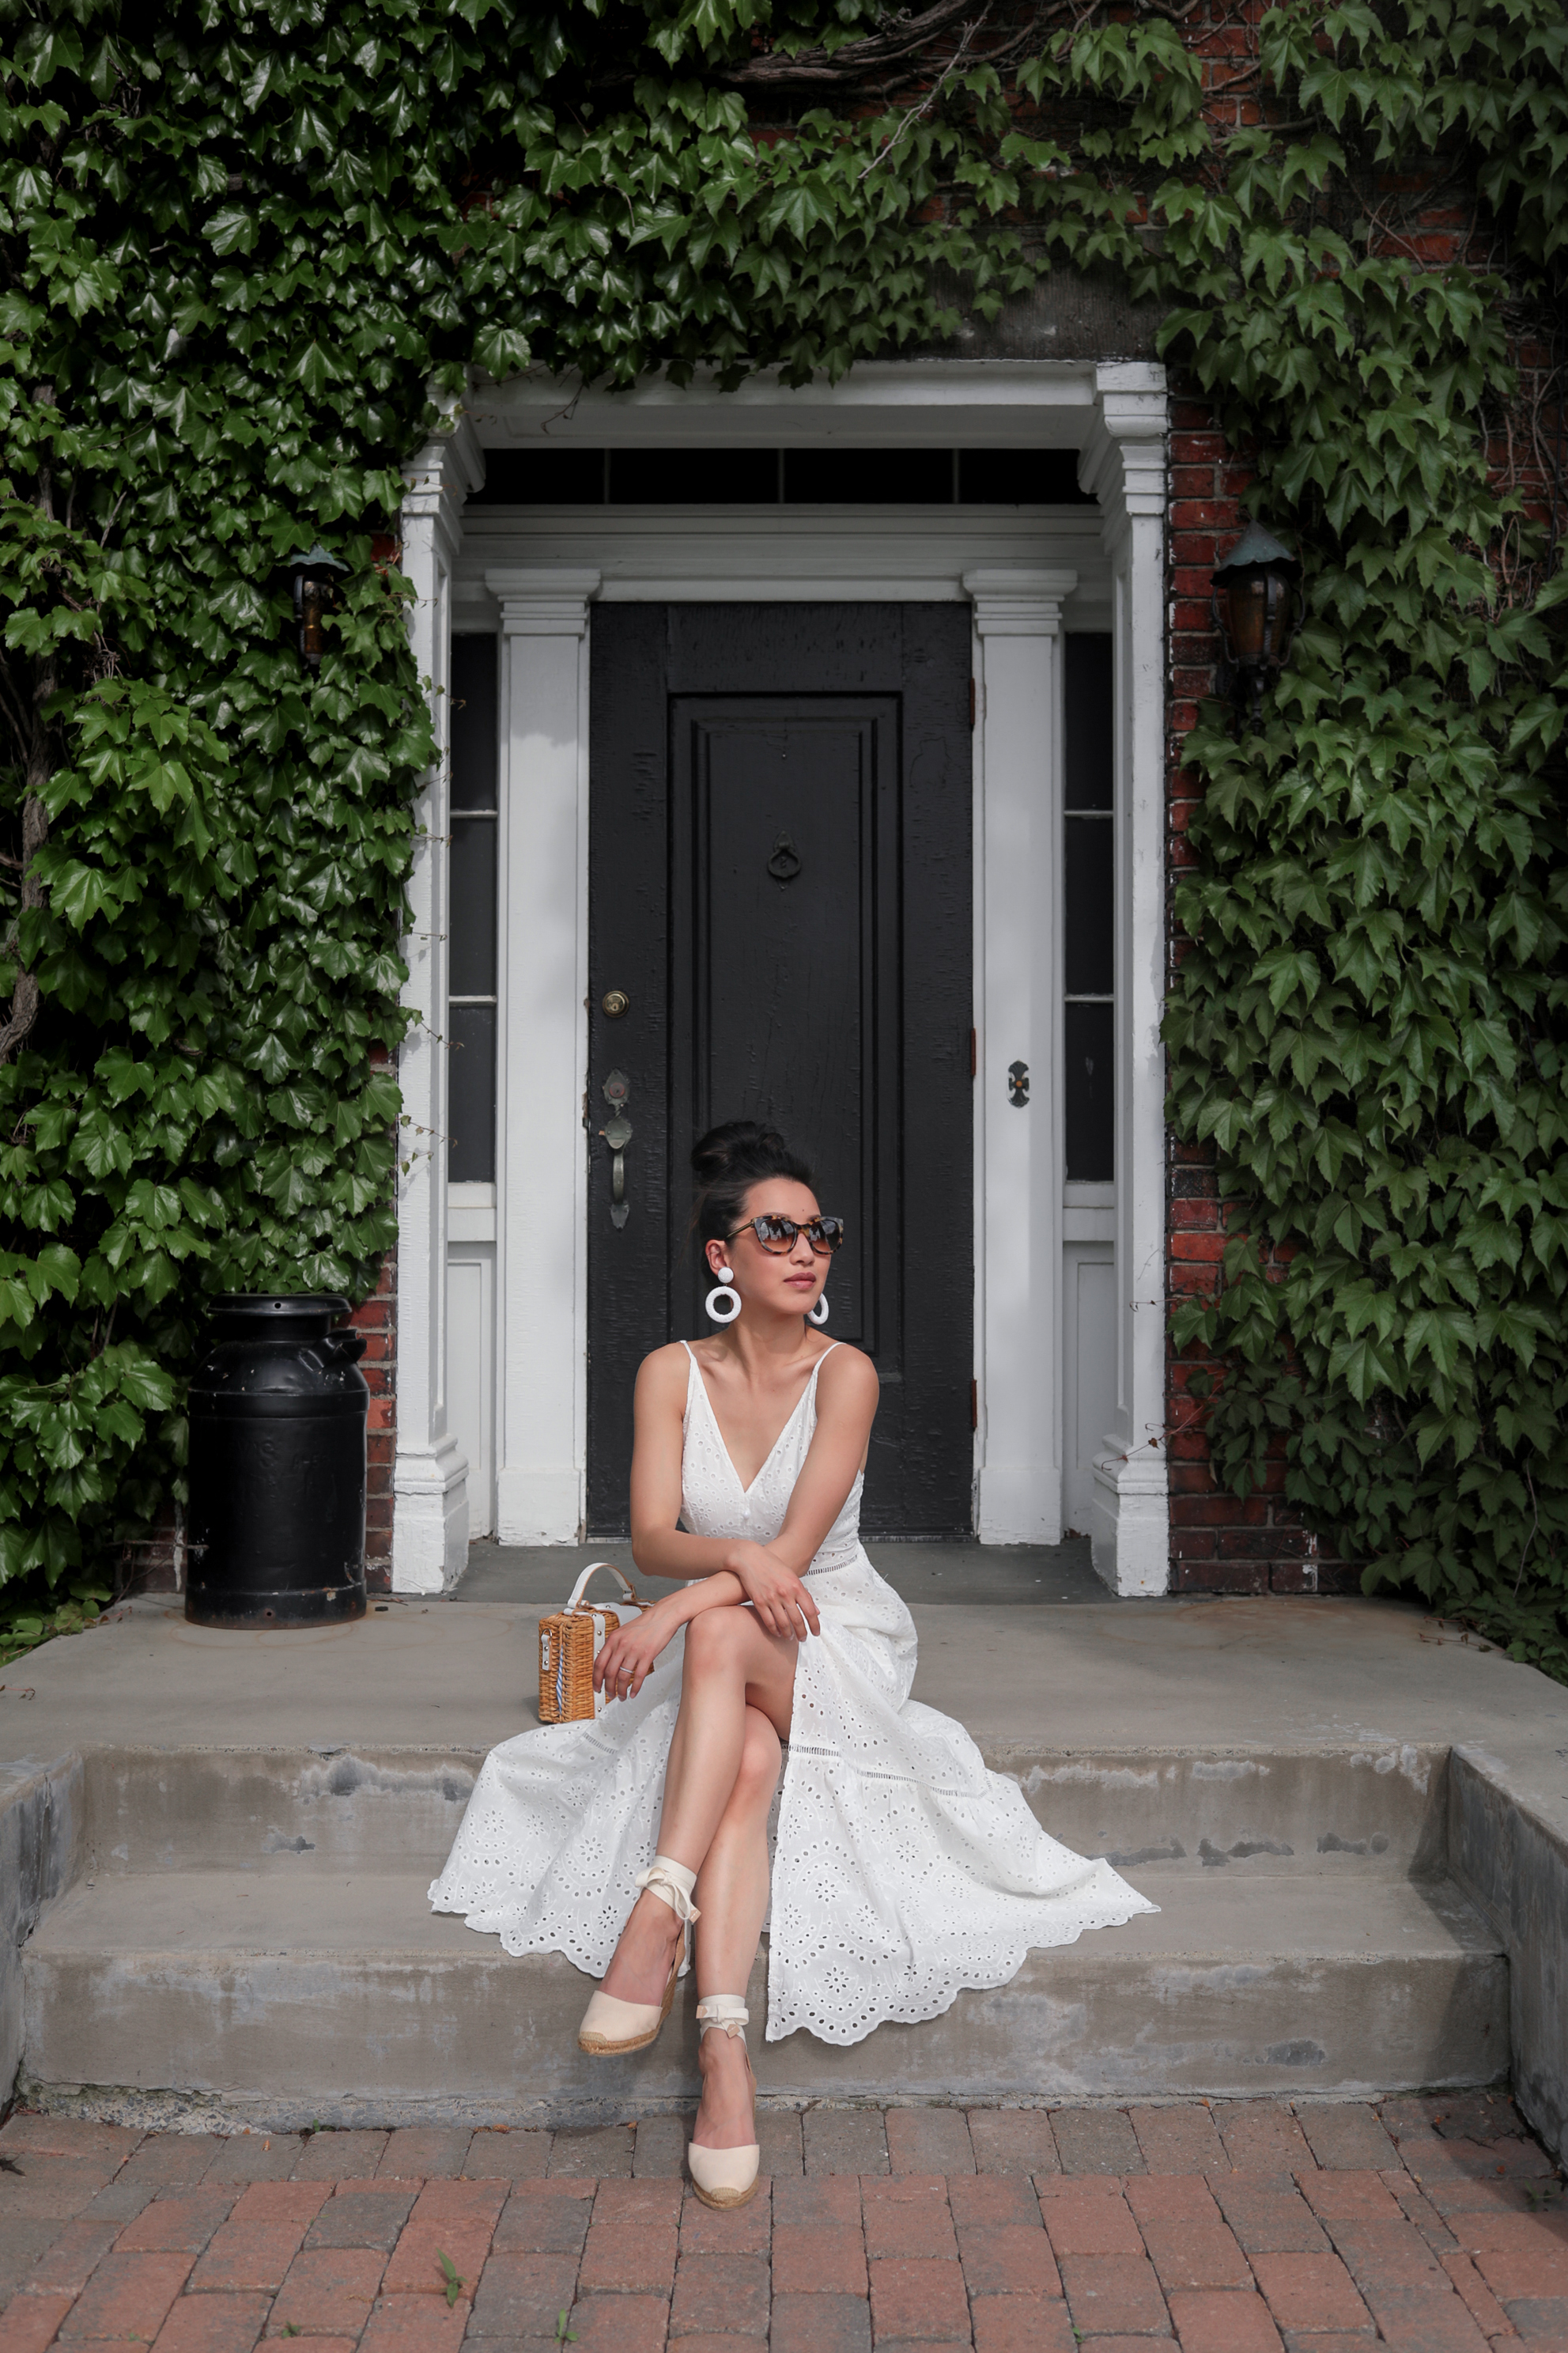
Outfit from this blog post
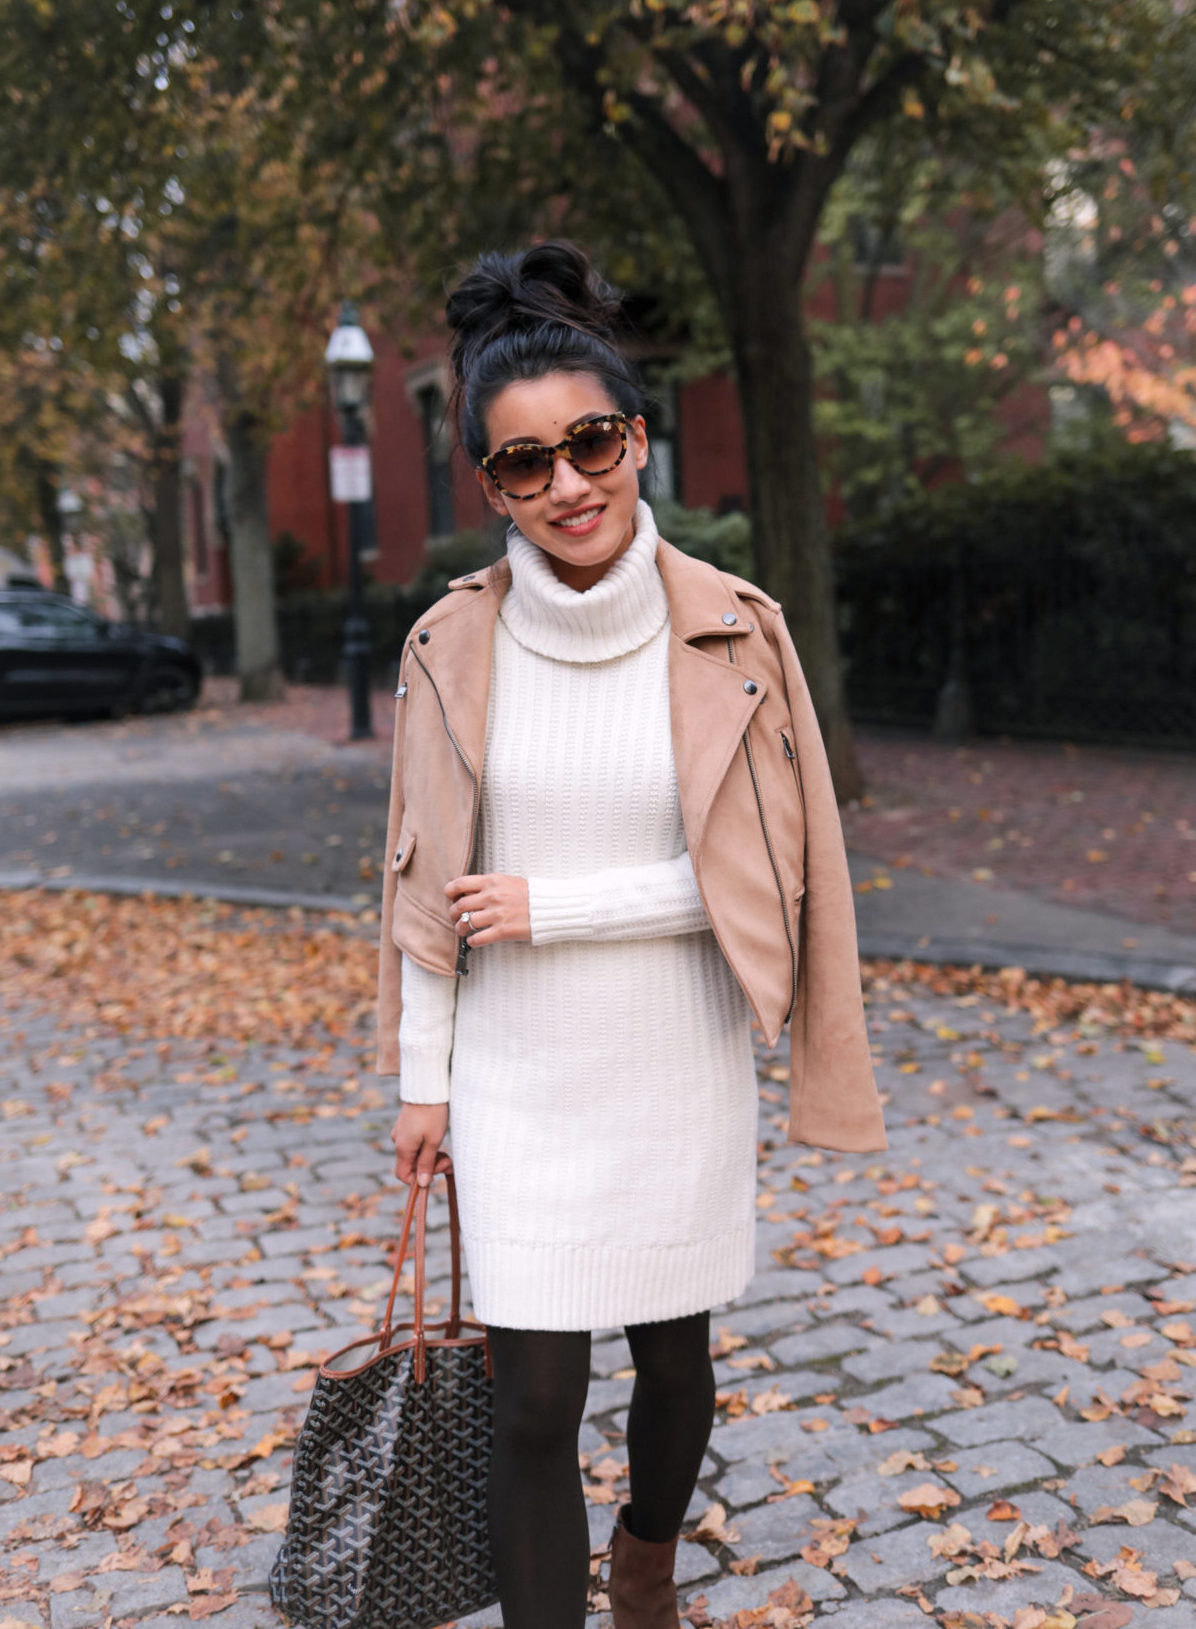
Outfit from this blog post


